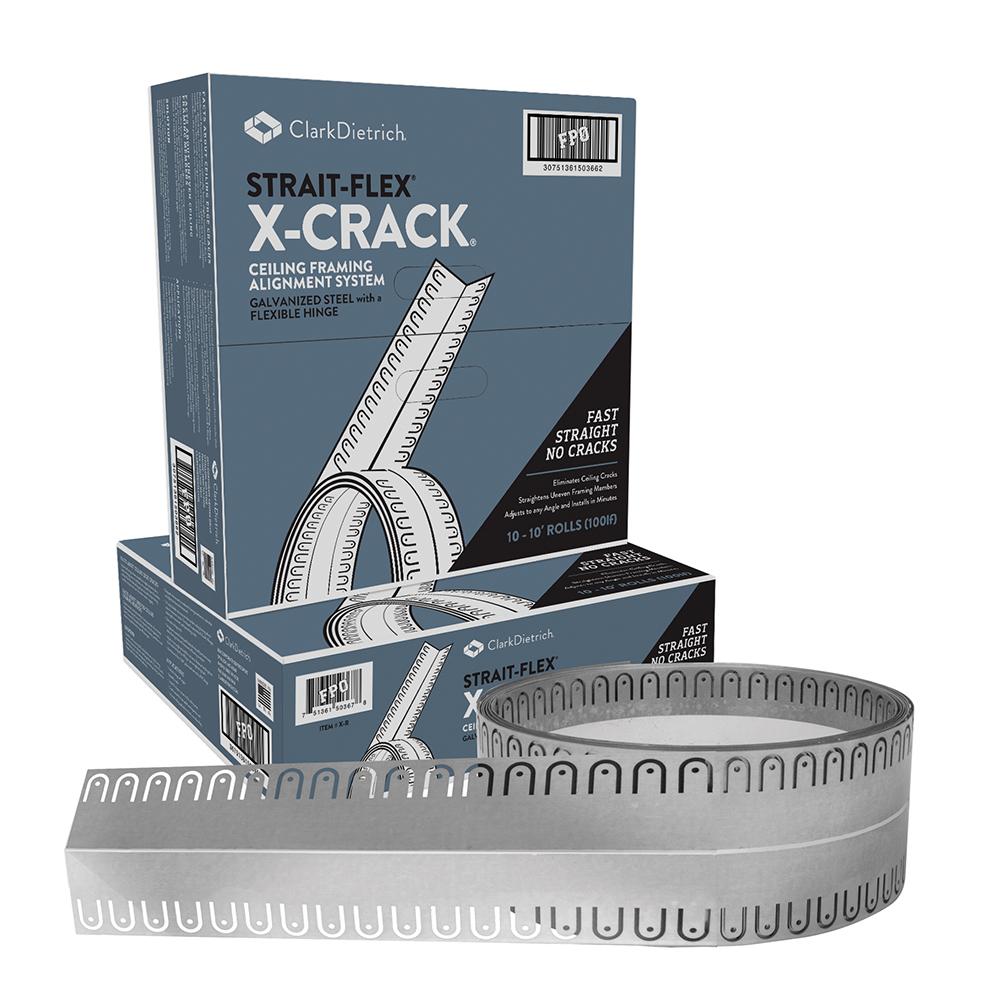
Framing Alignment
Eliminates ceiling cracks and straightens uneven framing.
X-Crack’s rigid design, hinged backbone, and flexible tab design will straighten all uneven framing members. This pre-straightening of sub-structure will eliminate the need of all pre-filling due to irregularities of framing members. It makes easy work of intricate ceiling applications that have no backing.
- Eliminates ceiling cracks and straightens uneven framing
- Drywall ceiling areas that use wood roof trusses or conventional wood framing members
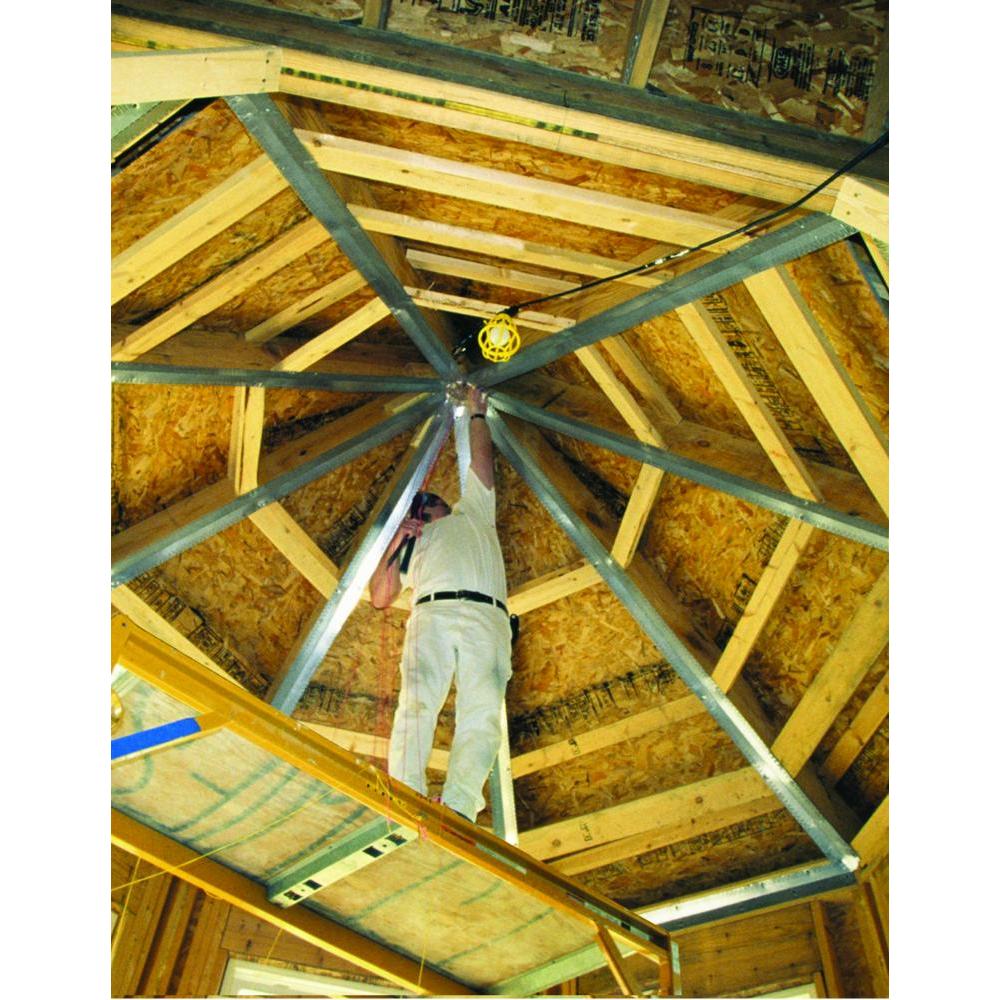
- Intricate ceiling applications, such as tee-pee ceilings in octagon rooms and butterfly vaults
- Areas where framing members are out of alignment
- Ceiling areas where drywall is not properly supported
- Ceiling areas where movement may occur
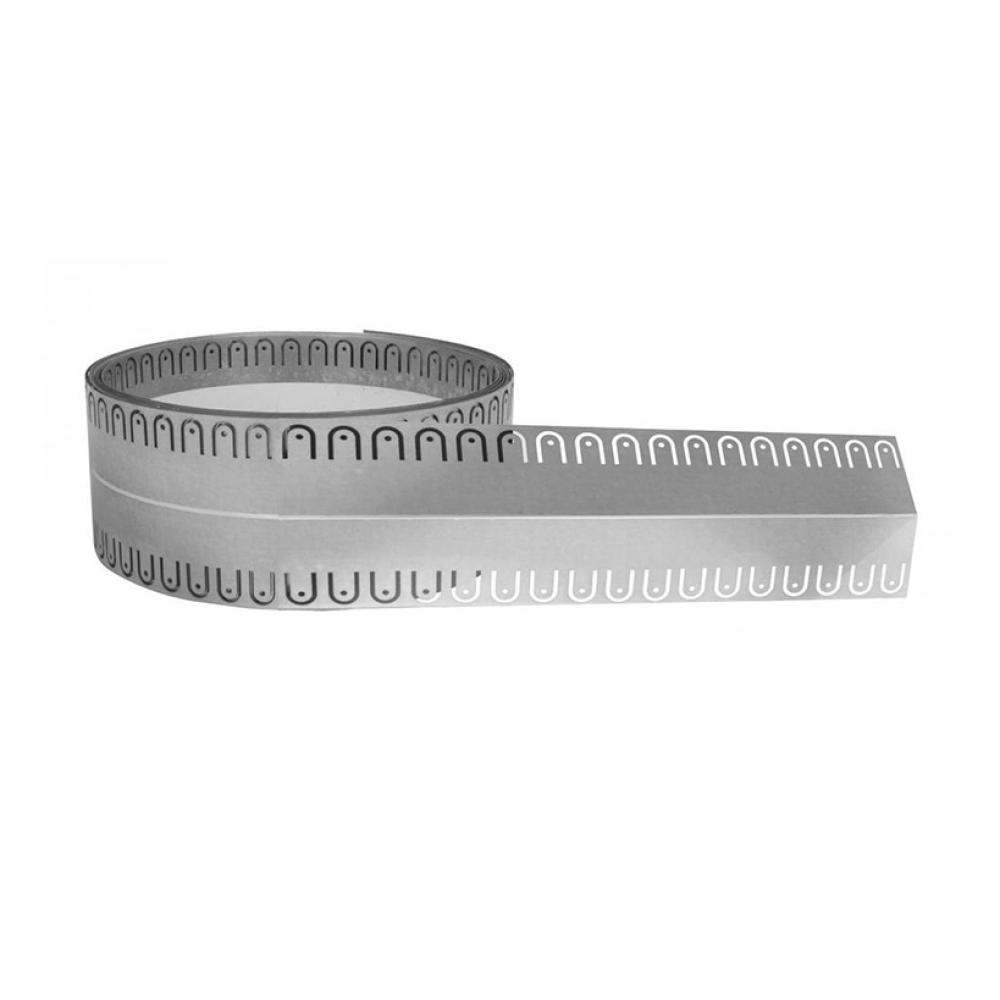
- Galvanized steel construction for long-life
Product Data & Ordering Information
| Product code | Item Size | Case Pack | Case Weight | Cases/Pallet |
|---|---|---|---|---|
| X-R | 4-1/4" x 10' | 10pc. 10' long, 100lf | 21lbs | 24 or 48 |
Installation Requirements to Eliminate Potential For Cracks
Adjust X-Crack to desired angle and use drywall screws to fasten it to ceiling framing members. Install drywall over X-Crack using fine or coarse threaded screws – be sure screws only penetrate drywall and X-Crack but miss trusses or ceiling joists by 2 to 4 inches. You must install the last screws in the field 10 to 12 inches away from X-Crack to allow for lumber movement. By missing the framing members and fastening drywall boards only to X-Crack; finished inside corners will not move or crack. Use Strait-Flex Mid-Flex250 or Mid-Flex300 flexible corner trim to complete installation.
NO SCREW SHOULD PENETRATE ALL THREE MATERIALS
(Drywall - X-Crack - Framing Members)
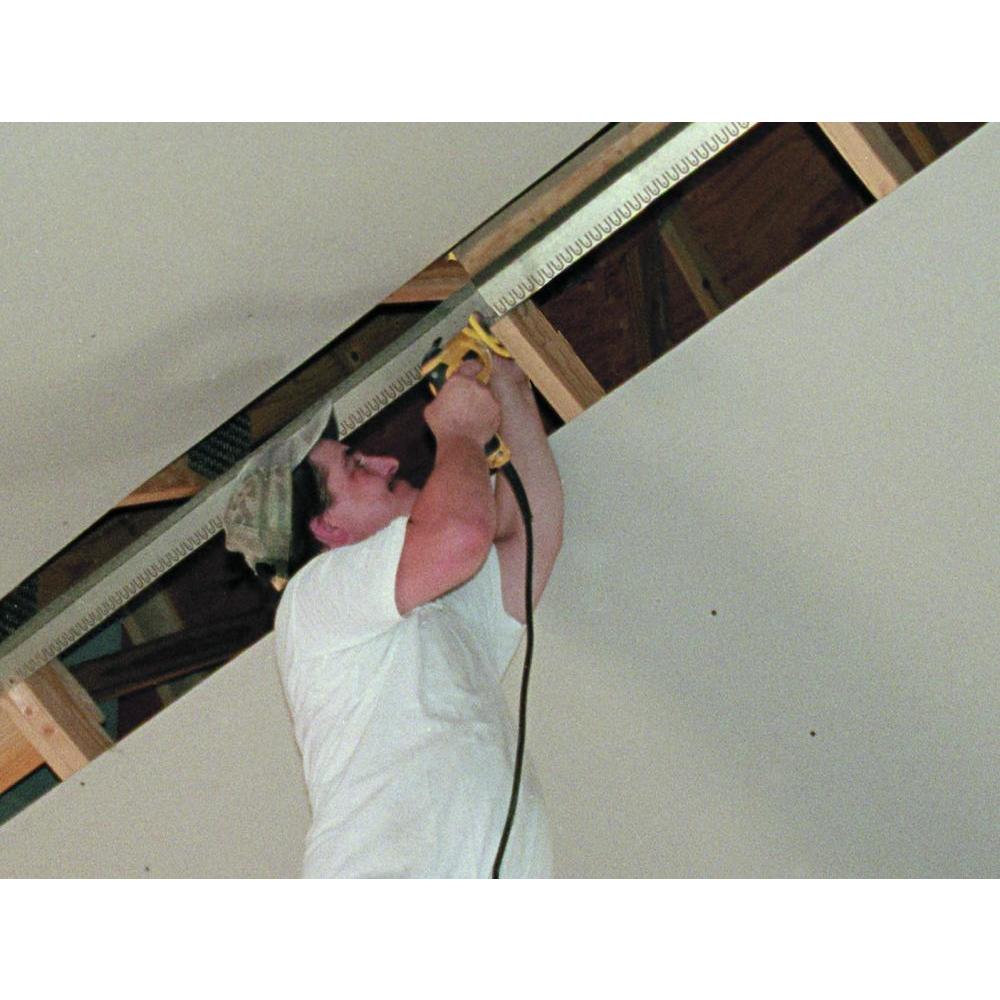
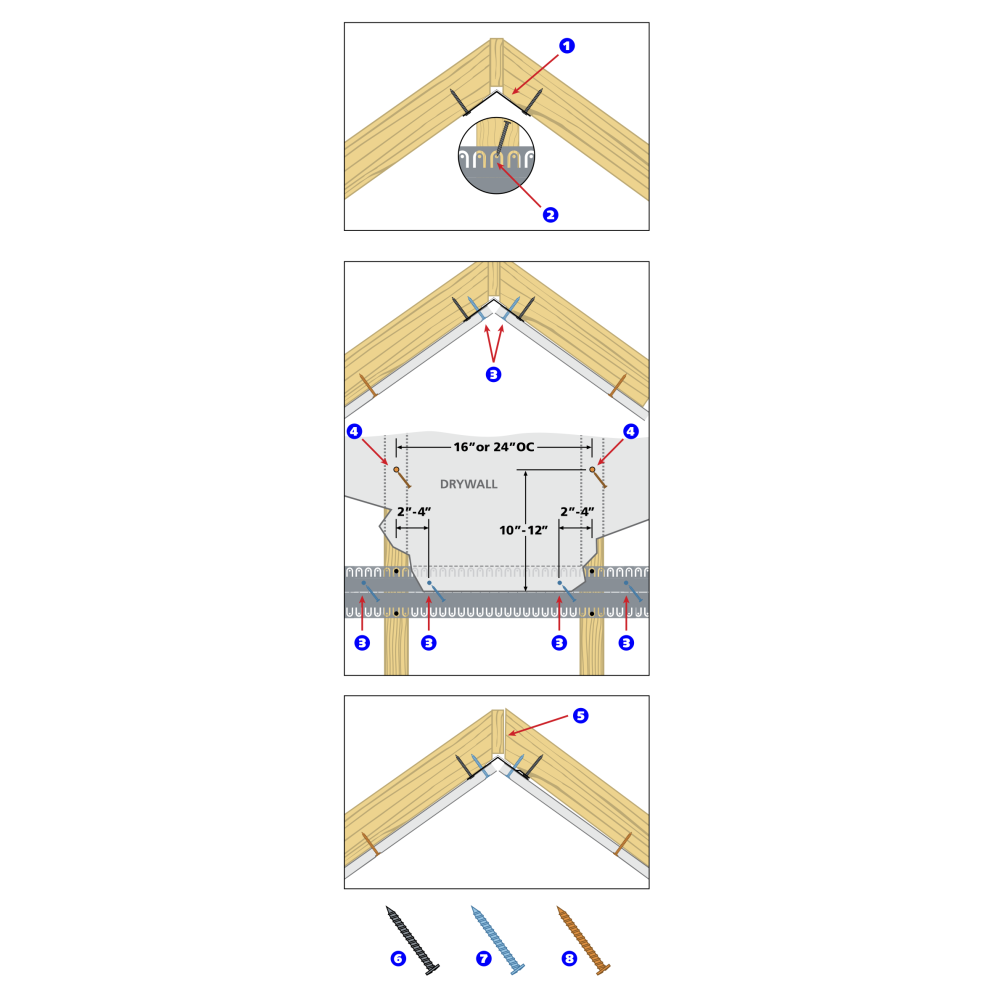
Installation
- Fasten X-Crack to ceiling trusses or conventional framing members before drywall installation.
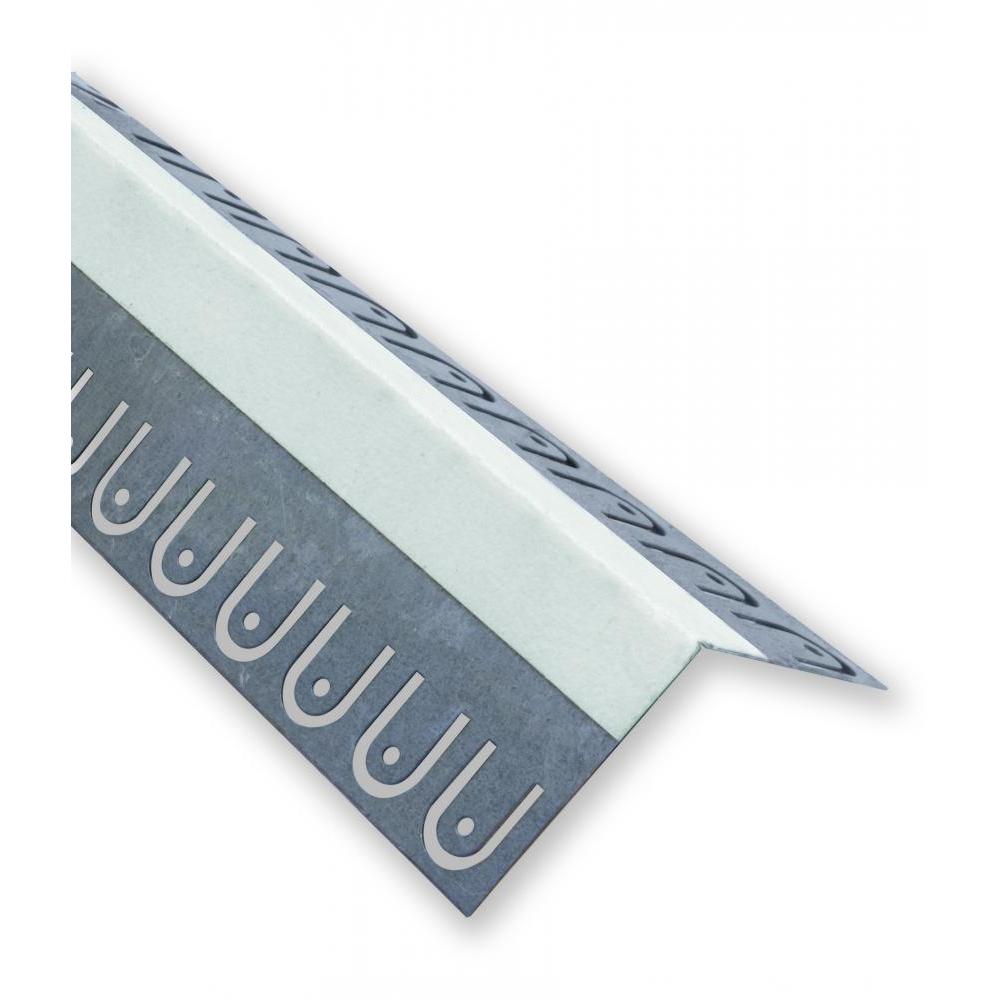
- (1) Adjust X-Crack to angle of corner. For inside corners, surface of PVC hinge faces framing members. For outside corners, surface of PVC hinge faces out.
- (2) Using drywall screws, first fasten X-Crack at end of lengths. Align center and fasten to framing members. Overlap X-Crack approximately one inch at joints.
Let X-Crack float over irregular framing members to create a straight line. Six screws per length is all that is required to hold X-Crack in place. The last screws in the field secures drywall to ceiling - and the screws through drywall into body of X-Crack secures inside corners. Install drywall over X-Crack with fine or coarse drywall screws.
- (3) Be sure the drywall screws penetrate the X-Crack product but miss the truss or ceiling joist by 2 to 4 inches.
- (4) The last screw in the field should be 10 to 12 inches away from X-Crack. This allows ceiling members to move independently of drywall joint.
- Use Strait-Flex Mid-Flex250 or Mid-Flex300 drywall tape to finish the application.
X-Crack’s patented hinge and flexible tab design holds drywall joints stationary while structural framing members are allowed to move independently of the drywall.
- (5) Causes for this movement may be due to lumber shrinkage, snow or wind loads, expansive soil, and truss uplift.
- (6) Screws that secure X-Crack to ceiling member Penetrates: X-Crack, Framing Member
- (7) Screws that secure drywall to X-Crack
Penetrates: Drywall , X-Crack - (8) Last screws in field
Penetrates: Drywall, Framing Member

Code Approvals & Performance Standards
- ASTM C1047 Standard Specification for Accessories for Gypsum Wallboard and Gypsum Veneer Base
Product Submittal Sheets
Click the below Product Code to view Submittal/Tech Datasheet.
| Product Code | Description |
|---|---|
| X-R | Strait-Flex X-Crack |
ClarkDietrich SubmittalPro®
Submittal sheets for the exact product you're looking for can be created by using ClarkDietrich's SubmittalPro® Product Submittal System.
- Contact ClarkDietrich Technical Services at 888-437-3244 for any questions about creating product submittals or using SubmittalPro.