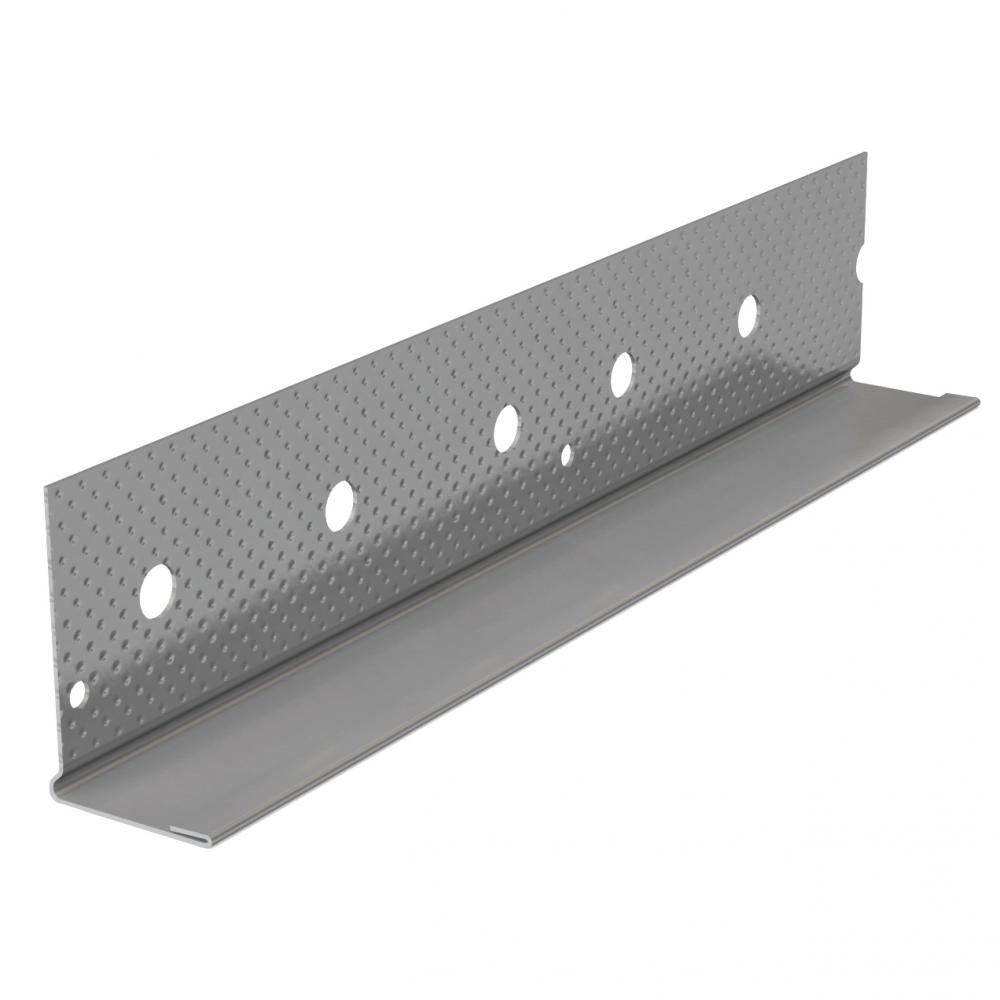
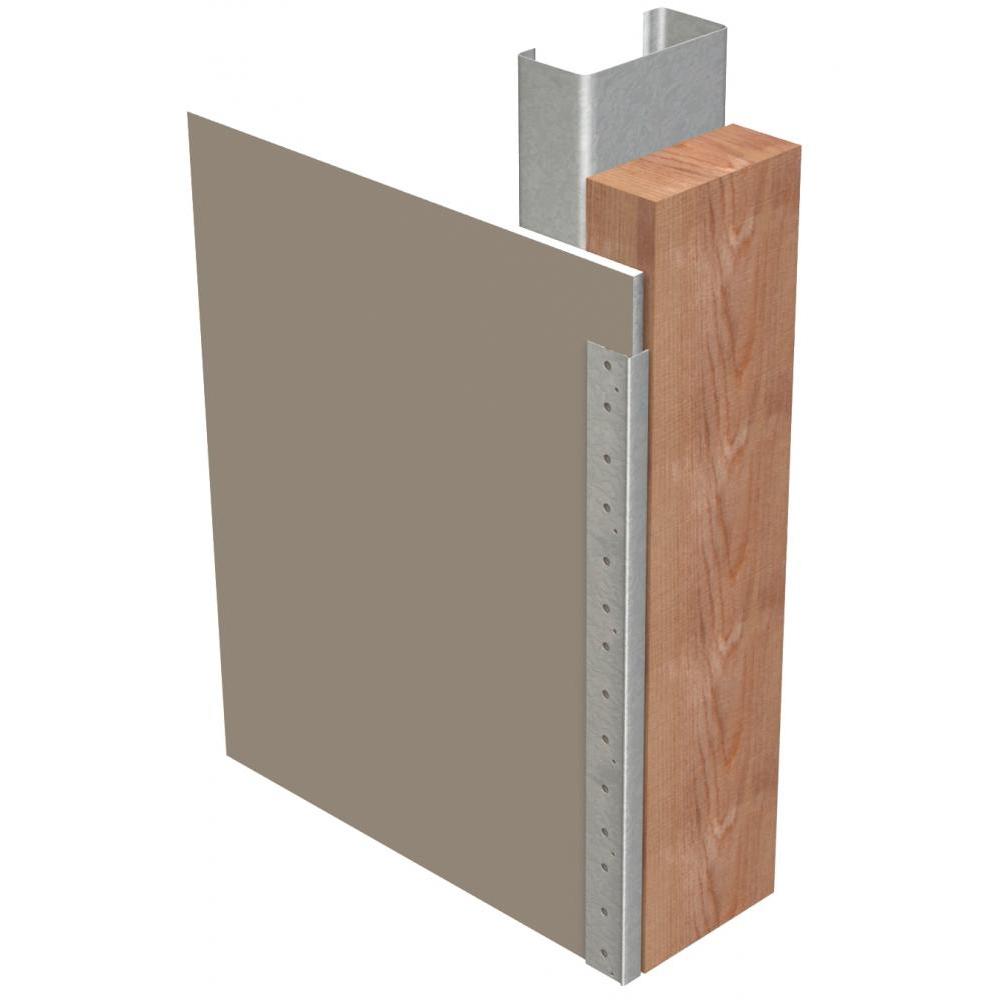
Provides a clean finished edge for wallboard
Metal L-Trim is used to provide a clean finished edge at door and window openings or when wallboard abuts dissimilar surfaces such as suspended ceilings, beams, plaster, masonry and concrete.
L-Trim is installed after the gypsum panels are already in place, unlike mud-on J, which must be installed during gypsum panel installation. L-Trim is easily attached with screws or nails after the panels are in place. Installation is completed with joint compound for a smooth ready-to-paint surface.
- Hemmed front flange for rigidity.
- Knurled, perforated flange enhances joint compound adhesion.
- Easy to attach and finish.
- This product has sharp edges and may cause cuts. Wear leather work gloves when handling.
Material: 0.012 min thickness, G30 galvanized
Product Data & Ordering Information
| Product code | Width | Length | Pcs./Ctn. | Ctns/Skid |
|---|---|---|---|---|
| M20B | 1/2" | 8' | 50 | 44 |
| 1/2" | 10' | 50 | 44 | |
| 5/8" | 8' | 50 | 44 | |
| 5/8" | 10' | 50 | 44 |
INSTALLATION
This product has sharp edges and may cause cuts. Wear leather work gloves when handling.
Metal L-Trim can be installed using a variety of methods.
Method 1: Staples
- Measure the wall height and subtract ½”. Measure and cut the L-Trim using aviator snips. Dry fit to ensure accuracy.
- Position the L-Trim on the end of the drywall and staple the mud flange every 6” to 10” with ½” staples.
- Using an 8” taping knife, apply the first coat of joint compound to the surface of the L-Trim. The use of lightweight or setting-type compound in this step will reduce shrinkage and speed up drying time. Let this dry completely, for several hours or overnight.
- Using an 8” or 10” taping knife, apply a light finish coat of joint compound. Feather the compound beyond the previous coat. The use of all-purpose or topping compound will make for a more durable finish. Let this dry completely, for several hours or overnight.
- Sand lightly with 120 grit sandpaper.
Method 2: Screws or Nails
- Measure the wall height and subtract ½”. Measure and cut the L-Trim using aviator snips. Dry fit to ensure accuracy.
- Position the L-Trim on the end of the drywall and fasten the L-Trim with screws or nails using the smaller nail holes on each mud flange.
- Using an 8” taping knife, apply the first coat of joint compound to the surface of the L-Trim. The use of lightweight or setting-type compound in this step will reduce shrinkage and speed up drying time. Let this dry completely, for several hours or overnight.
- Using an 8” or 10” taping knife, apply a light finish coat of joint compound. Feather the compound beyond the previous coat. The use of all-purpose or topping compound will make for a more durable finish. Let this dry completely, for several hours or overnight.
- Sand lightly with 120 grit sandpaper.
Documents
Code Approvals & Performance Standards
- ASTM C1047 Standard Specification for Accessories for Gypsum Wallboard and Gypsum Veneer Base
- SDS For ASTM A653 Steel Finishing Products For Interior Finishing and Exterior Finishing
Storage:
All stored materials shall be kept dry. Materials shall be stacked off the ground, supported on a level platform, and protected from the weather.
PRoduct submittal SHeets
Click the below Product Code to view Submittal/Tech Datasheet.
| Product Code | Description |
|---|---|
| M20B | Metal L-Trim #200-B |
ClarkDietrich SubmittalPro®
Submittal sheets for the exact product you're looking for can be created by using ClarkDietrich's SubmittalPro® Product Submittal System.
- Contact ClarkDietrich Technical Services at 888-437-3244 for any questions about creating product submittals or using SubmittalPro.