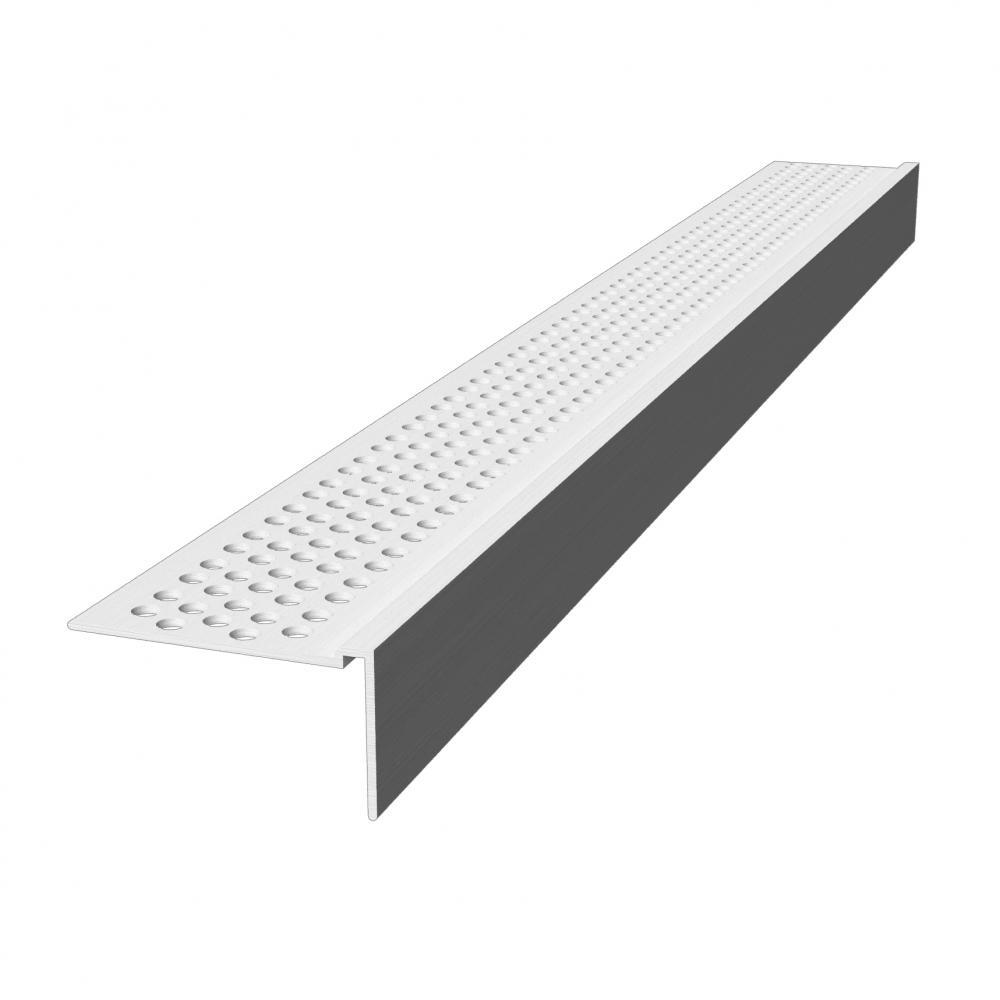
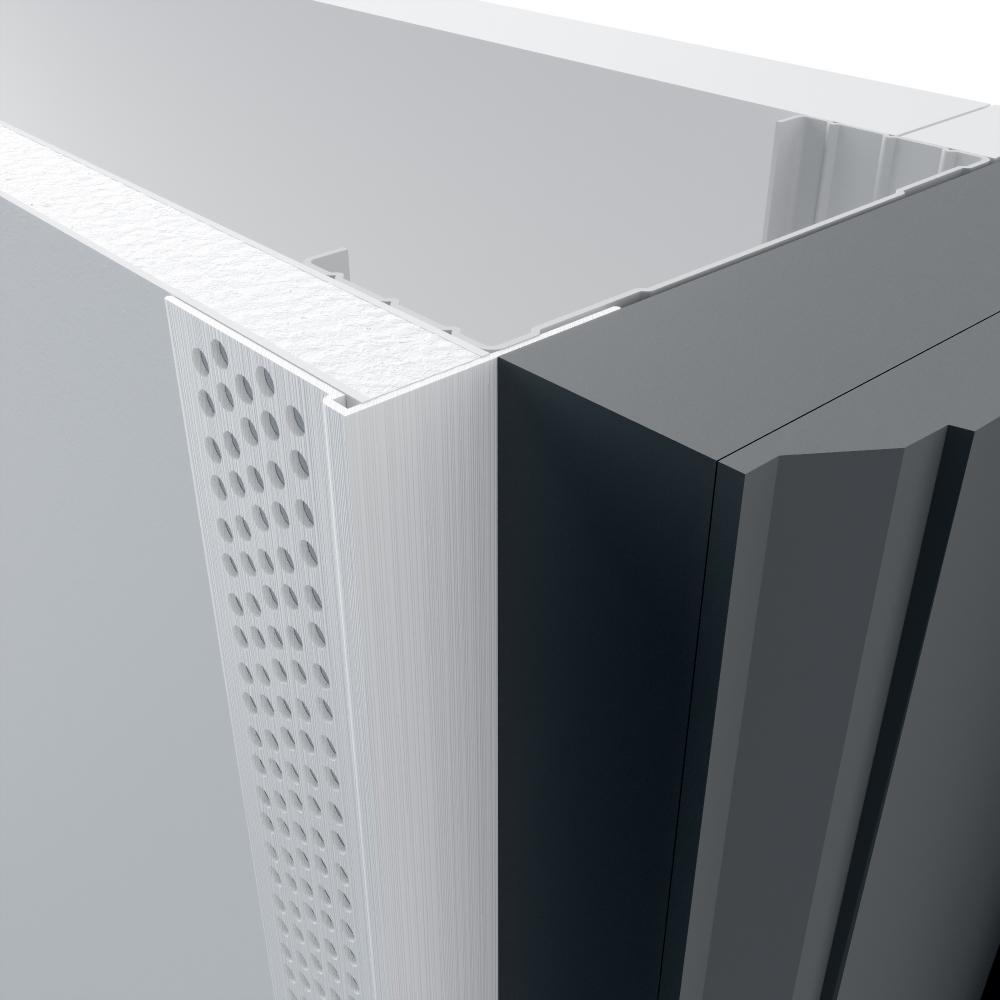
Provides clean, sharp edge at wallboard terminations
L-Bead is designed to cover raw edges of drywall at ceilings, windows and other finished interior components.
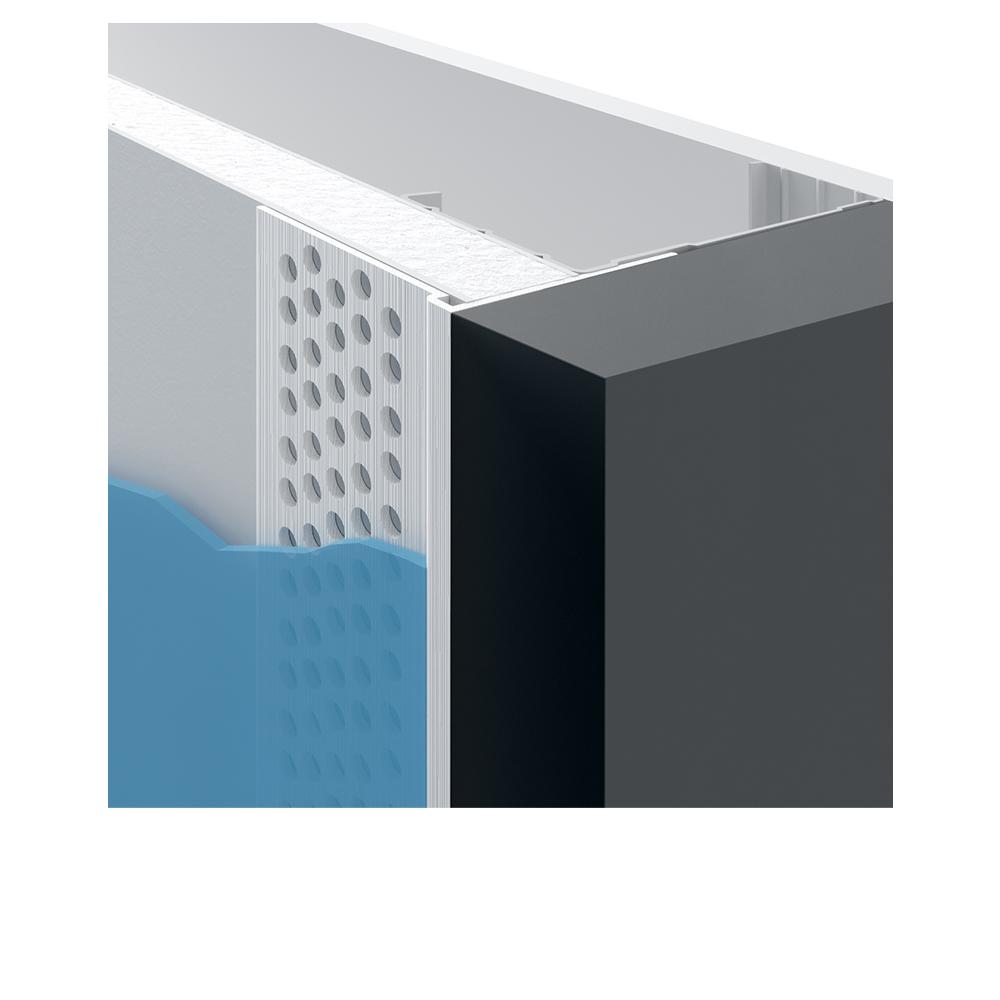
Easy attachment is attained with nails, screws or staples to studs through bead flange. Multiple perforations along the 1-1/8" flange enhance strong compound adhesion and the raised shoulder provides for a flush finish. Rigid vinyl will not rust, dent resistant and easy to field cut without distorting profile or leaving sharp edges and burrs.
- Produces finished edge at panel terminations.
- Raised shoulder and perforations enhance compound adhesion.
Product Data & Ordering Information
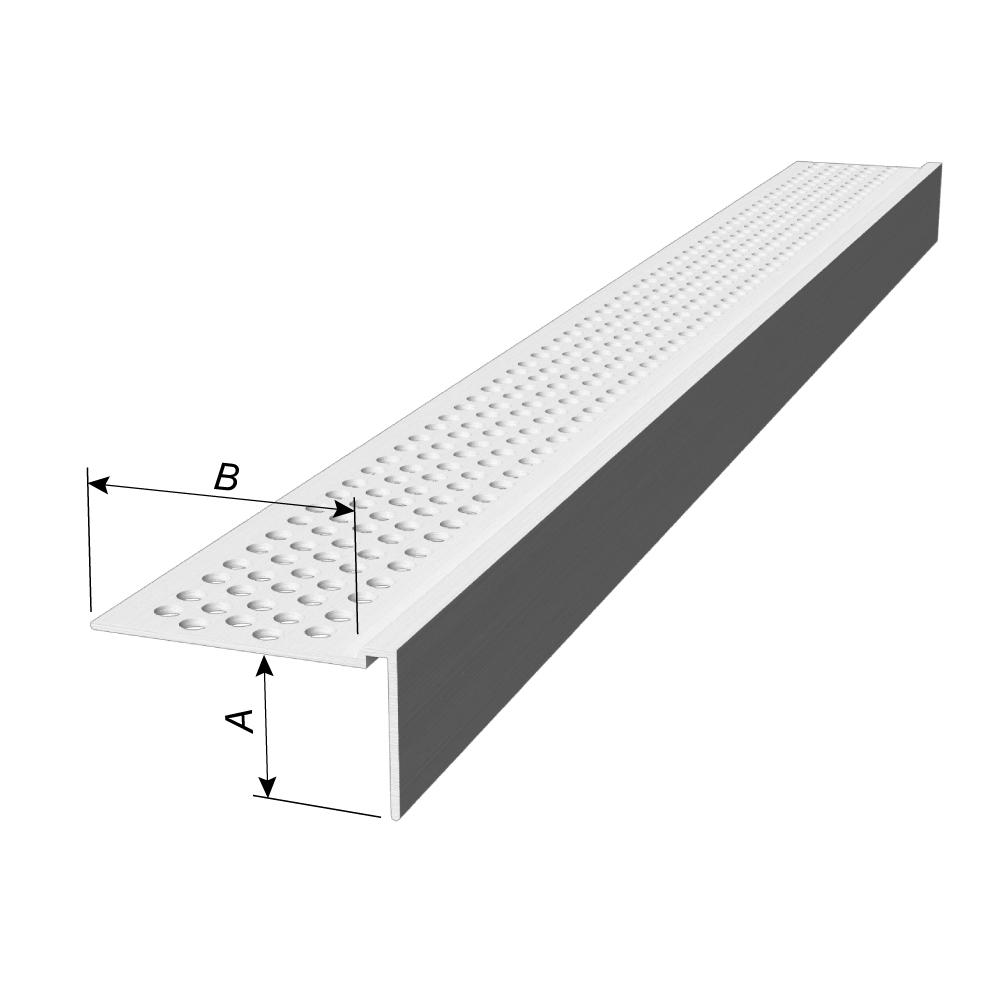
| Product code | Board thickness (A) | Flange (B) | Length | Pcs./Ctn. |
|---|---|---|---|---|
| LB38-10 | 3/8" | 1-1/8" | 10' | 50 |
| LB50-8 | 1/2" | 1-1/8" | 8' | 50 |
| LB50-10 | 1/2" | 1-1/8" | 10' | 50 |
| LB58-8 | 5/8" | 1-1/8" | 8' | 50 |
| LB58-10 | 5/8" | 1-1/8" | 10' | 50 |
| LB75-10 | 3/4" | 1-1/8" | 10' | 50 |
| LB100-10 | 1" | 1-1/8" | 10' | 50 |
| LB125-10 | 1-1/4" | 1-1/8" | 10' | 50 |
| LB150-10 | 1-1/2" | 1-1/8" | 10' | 50 |
| LB200-10 | 2" | 1-1/8" | 10' | 50 |
| LB250-10 | 2-1/2" | 1-1/8" | 10' | 50 |
| LB300-10 | 3" | 1-1/8" | 10' | 50 |
Step 1:
When installing the drywall, allow for a 1/8” gap between the drywall and the adjacent interior surface to accept the leg of the L-Bead to ensure a straight, flat application. Avoid using the tapered edge of the drywall board for this application. Make sure the surface of the drywall is clean and smooth. Measure and cut the L-Bead to length, subtract ½” for vertical applications. Dry fit the L-Bead to ensure the optimum fit.
Step 2:
For optimal results spray the drywall surface and the flanges of the L-Bead with Diamond™ Spray Adhesive and position the L-bead into place. Once in position, apply pressure with the handle of your taping knife and then staple the corner bead every 6” – 8” with ½” staples to keep the L-Bead tight to the drywall surface.
Step 3:
Using a 6” taping knife, apply the first coat of joint compound to the surface of the L-Bead. The use lightweight compound or setting-type compound in this step will reduce shrinkage and speed up the drying time. Let this dry completely, for several hours or overnight.
Step 4:
Using an 8” taping knife, apply the final coat of joint compound. Feather the compound beyond the previous coat. The use of all-purpose compound or topping compound will make for a more durable finish. Let this dry completely, for several hours or overnight.
Step 5:
Sand lightly with 120 grit sandpaper to finish.
Documents

Code Approvals & Performance Standards
- ASTM C840 Standard Specification for Application and Finishing of Gypsum Board
- ASTM C841 Standard Specification for Installation of Interior Lathing and Furring
- ASTM C1047 Standard Specification for Accessories for Gypsum Wallboard and Gypsum Veneer Base
- ASTM D3678 Standard Specification for Rigid Poly(Vinyl Chloride) (PVC) Interior - Profile Extrusions
- SDS Vinyl Corp PVC Compounds
Storage:
All stored materials shall be kept dry. Materials shall be stacked off the ground, supported on a level platform, and protected from the weather.
CAD Details
Note: to view all of ClarkDietrich's CAD details, visit the CAD Details Library.


PRoduct submittal SHeets
Click the below Product Code to view Submittal/Tech Datasheet.
| Product Code | Description |
|---|---|
| L-Bead | L-Bead |
ClarkDietrich SubmittalPro®
Submittal sheets for the exact product you're looking for can be created by using ClarkDietrich's SubmittalPro® Product Submittal System.
- Contact ClarkDietrich Technical Services at 888-437-3244 for any questions about creating product submittals or using SubmittalPro.