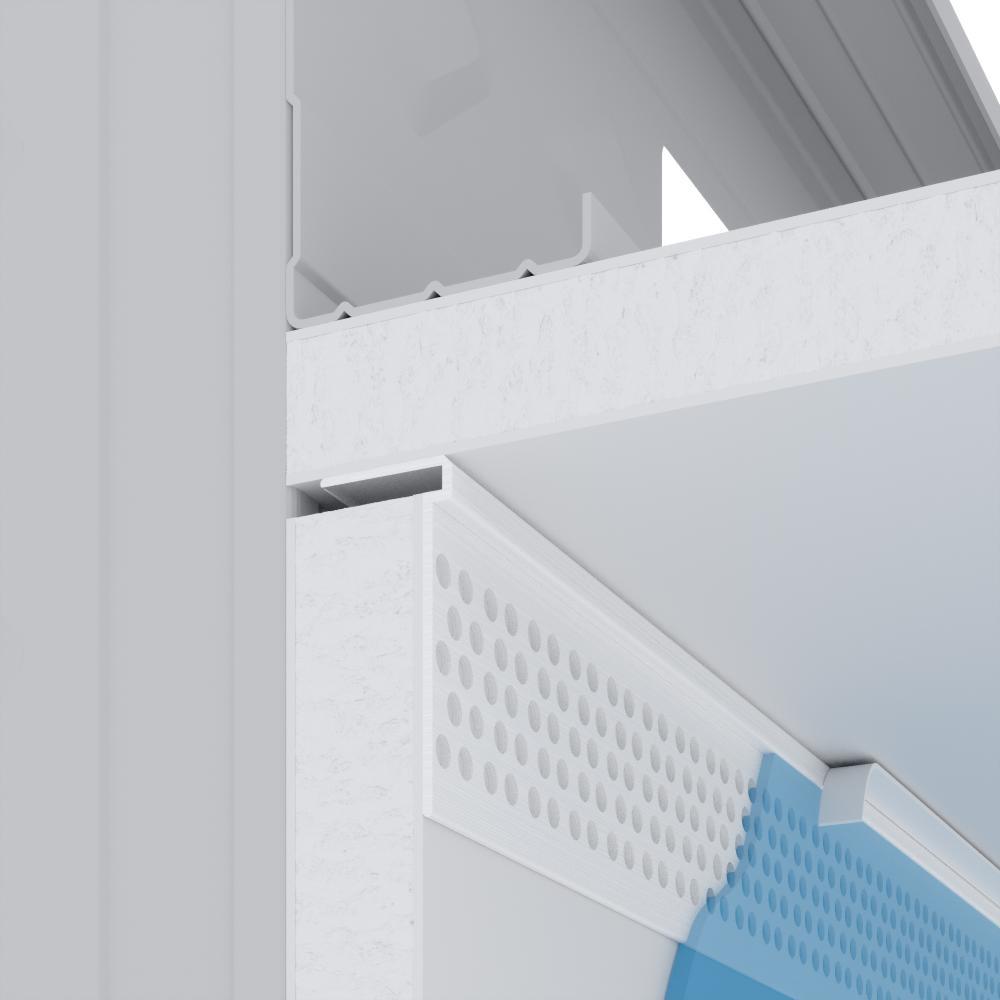
Creates a clean line at intersection of gypsum board and ceiling grid
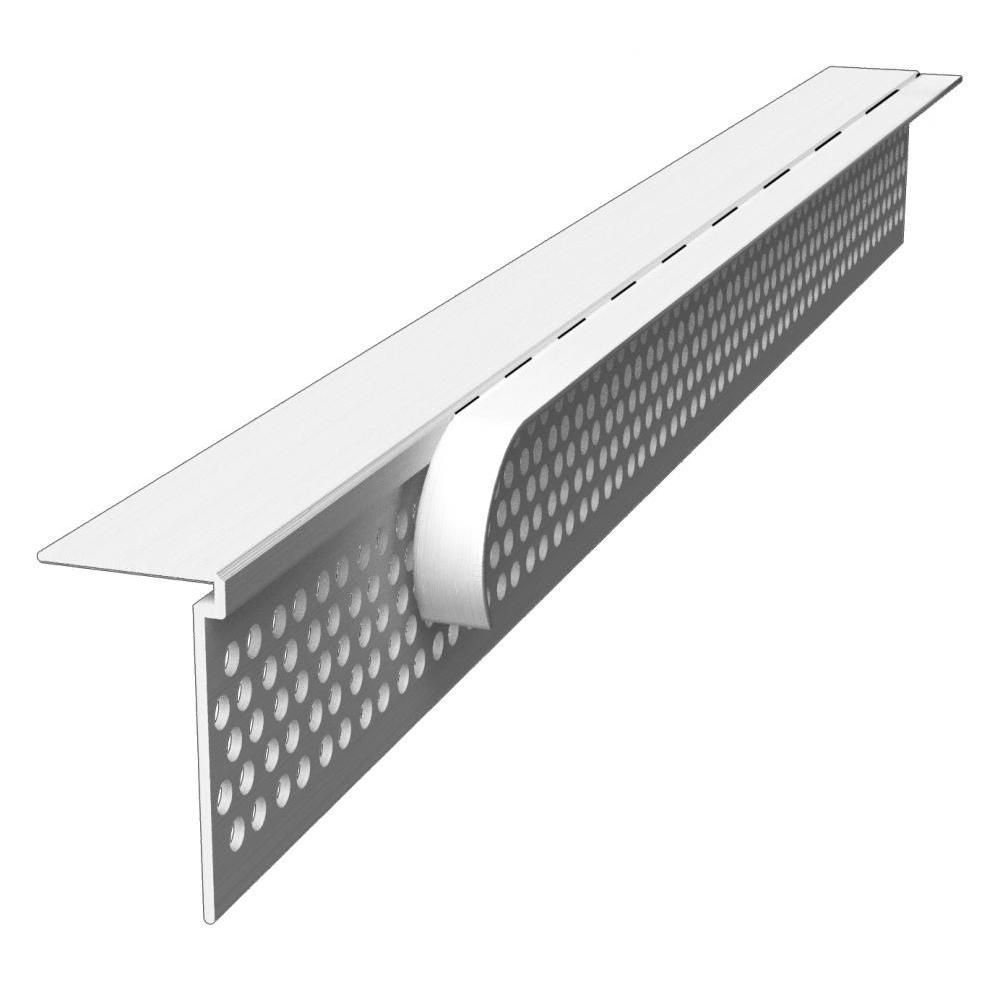
Rip-Bead® L-Bead is designed to cover the raw edges of drywall at ceilings, windows and other finished interior components.
Features a 5/16" removable leg that acts as a guide for the taping knife and a protective mask for the application of joint compound.
- Eliminates clean up and masking tape.
- Rustproof and dent-resistant.
- Multiple perforations enhance joint compound adhesion.
- Produces clean, finished edges at panel terminations.
Product Data & Ordering Information
| Product code | Board thickness | Flange | Length | Pcs./Ctn. |
|---|---|---|---|---|
| CT50-8 | 1/2" | 1" | 8' | 50 |
| CT50-10 | 1/2" | 1" | 10' | 50 |
| CT50-12 | 1/2" | 1" | 12' | 50 |
| CT58-8 | 5/8" | 1" | 8' | 50 |
| CT58-10 | 5/8" | 1" | 10' | 50 |
| CT58-12 | 5/8" | 1" | 12' | 50 |
Step 1:
When installing the drywall, allow for a 1/8” gap between the drywall and the adjacent interior surface to accept the leg of the Rip Bead L-Bead to ensure a straight, flat application. Avoid using the tapered edge of the drywall board for this application. Make sure the surface of the drywall is clean and smooth. Measure and cut the L-Bead to length, subtract ½” for vertical applications. Dry fit the Rip Bead L-Bead to ensure the optimum fit.
Step 2:
For optimal results spray the drywall surface and the flanges of the L-Bead with Diamond™ Spray Adhesive and position the Rip Bead L-Bead into place. Once in position, apply pressure with the handle of your taping knife and then staple the corner bead every 6” – 8” with ½” staples to keep the L-Bead tight to the drywall surface.
Step 3:
Using a 6” taping knife, apply the first coat of joint compound to the surface of the Rip Bead L-Bead. The use lightweight or setting-type compound in this step will reduce shrinkage and speed up the drying time. Let this dry completely, for several hours or overnight.
Step 4:
Using an 8” taping knife, apply the final coat of joint compound. Feather the compound beyond the previous coat. The use of all-purpose compound or topping compound will make for a more durable finish. Let this dry completely, for several hours or overnight.
Step 5:
Gently remove the Rip Bead removable leg after the final coat of compound is completely dry and before sanding.
Step 6:
Sand lightly with 120 grit sandpaper to finish.
Documents

Code Approvals & Performance Standards
- ASTM C840 Standard Specification for Application and Finishing of Gypsum Board
- ASTM C841 Standard Specification for Installation of Interior Lathing and Furring
- ASTM C1047 Standard Specification for Accessories for Gypsum Wallboard and Gypsum Veneer Base
- ASTM D3678 Standard Specification for Rigid Poly(Vinyl Chloride) (PVC) Interior - Profile Extrusions
- SDS Vinyl Corp PVC Compounds
Storage:
All stored materials shall be kept dry. Materials shall be stacked off the ground, supported on a level platform, and protected from the weather.
CAD Details
Note: to view all of ClarkDietrich's CAD details, visit the CAD Details Library.


PRoduct submittal SHeets
Click the below Product Code to view Submittal/Tech Datasheet.
| Product Code | Description |
|---|---|
| Rip-Bead L-Bead | Rip-Bead® L-Bead |
ClarkDietrich SubmittalPro®
Submittal sheets for the exact product you're looking for can be created by using ClarkDietrich's SubmittalPro® Product Submittal System.
- Contact ClarkDietrich Technical Services at 888-437-3244 for any questions about creating product submittals or using SubmittalPro.